Run Android Project
Now, you need to run it. You have 2 options to run this application.
- On Emulator
- On Device.
Running Android Project into Emulator
You can test your applications on various devices and Android API level without any need for your physical appliance using the Android Imulator to simulate Android devices on your computer.
Almost every feature of a true Android device is offered by the emulator. Incoming telephone calls and text messages can be simulated, device locations can be specified, network velocities simulated, rotations, other hardware sensors simulated, Google Play Store accessible and many more.
In some ways it is faster and easier to test your application on the emulator than on a physical instrument. For instance, it is possible to pass data to the emulator faster than to a USB connected device.
The emulator has predetermined settings for various Android phones, tablets, wear operating systems and Android TVs.
Creating an Android Emulator
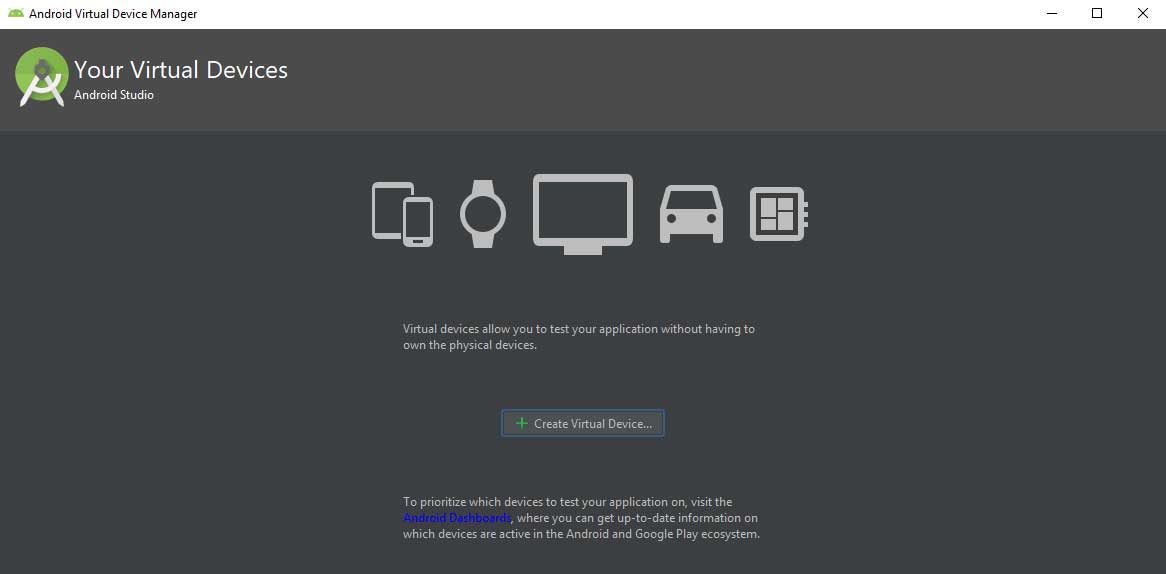
On the top menu option, click on the AVD Manager option.
When you open a AVD manager, the default emulator and some details are likely to be displayed. A new virtual device can also be created. You will see the screen as below if there is no default emulator.
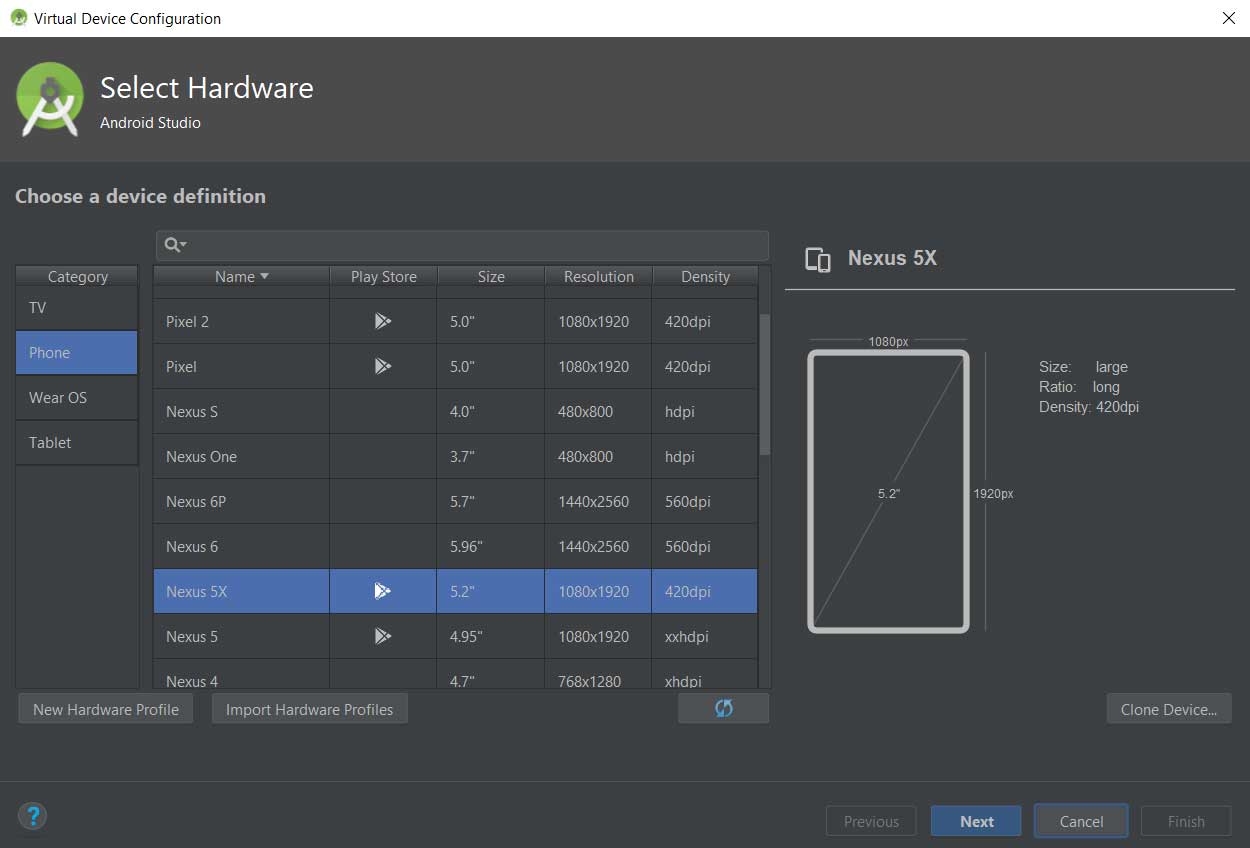
You will then have the option of selecting the category from which you want to create an emulator to a screen.
Also, the name, size and screen resolution of the device can be seen. You can therefore select the right device based on your needs.
Nexus 5x select and next click. All devices can be selected, however.
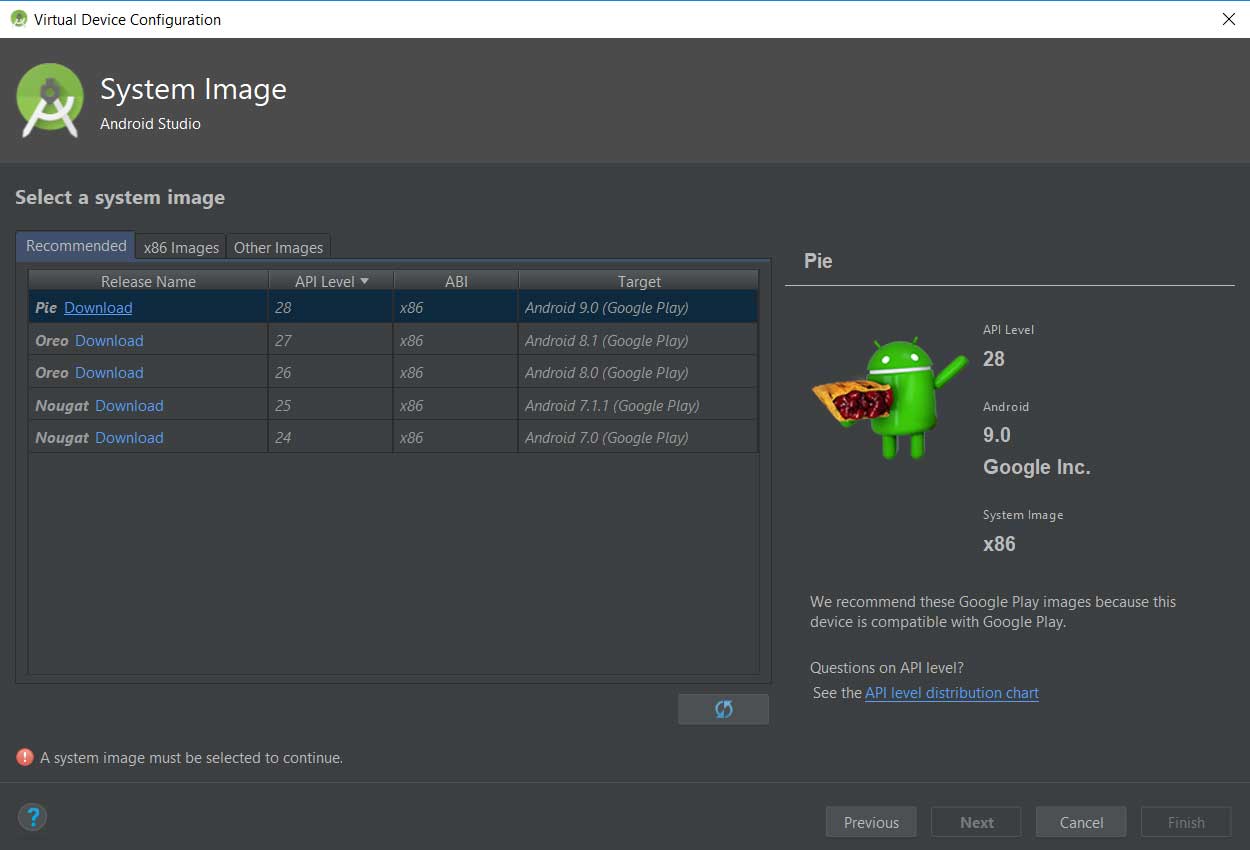
Select PIE and click next.
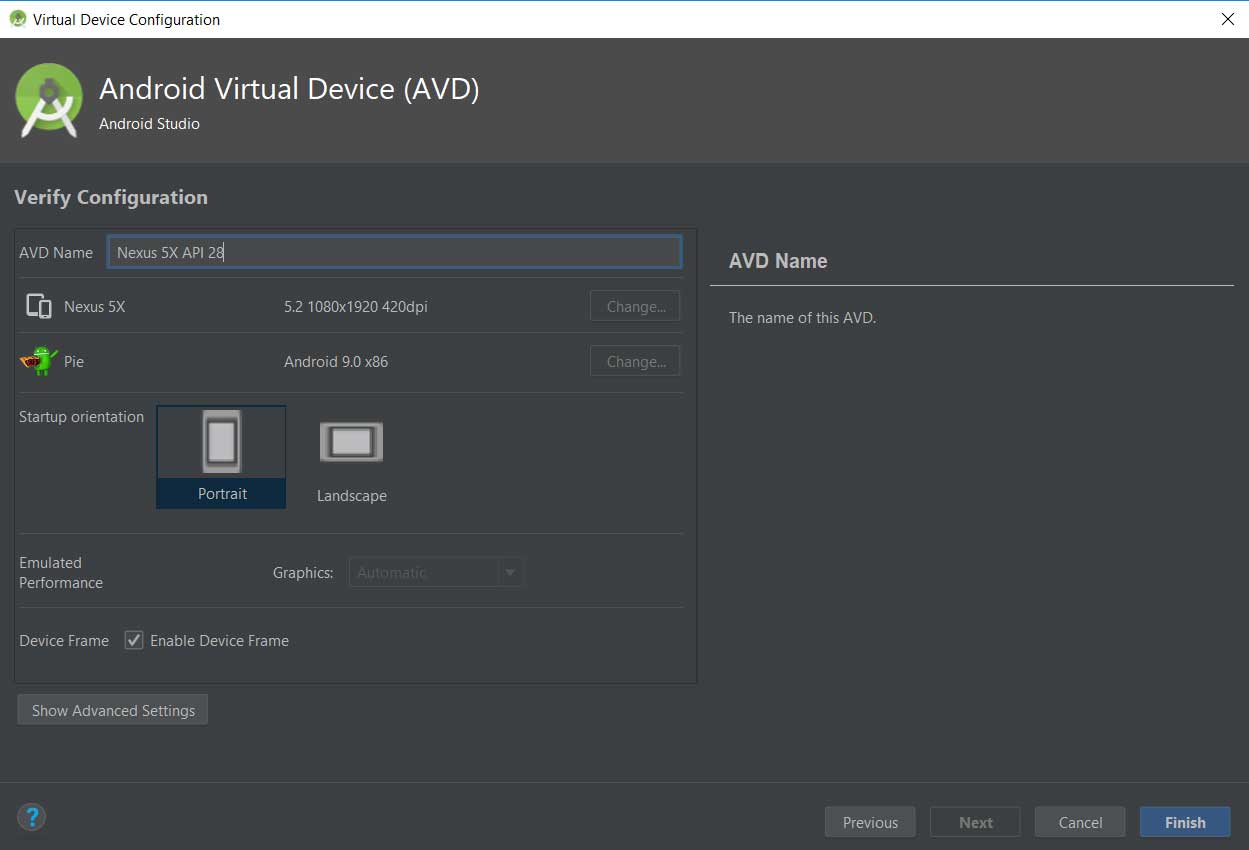
Now you are redirected to the Settings screen where the details of the emulator you are creating will be shown. Click Finish if all is OK.
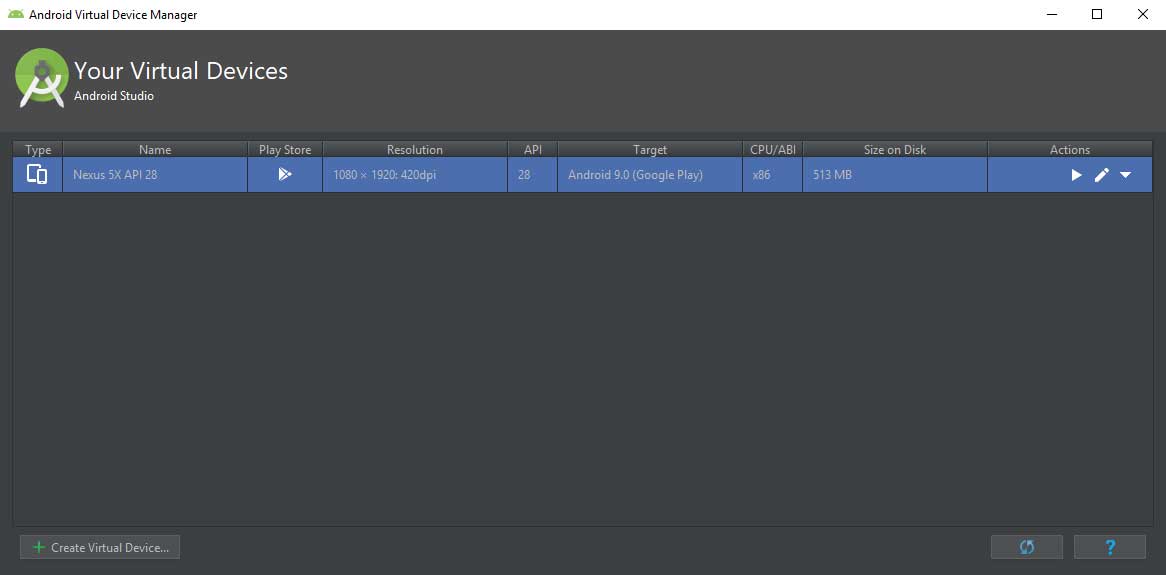
The new device created in the list is displayed.
Now we've got an emulator. So, execute the request.
Running application
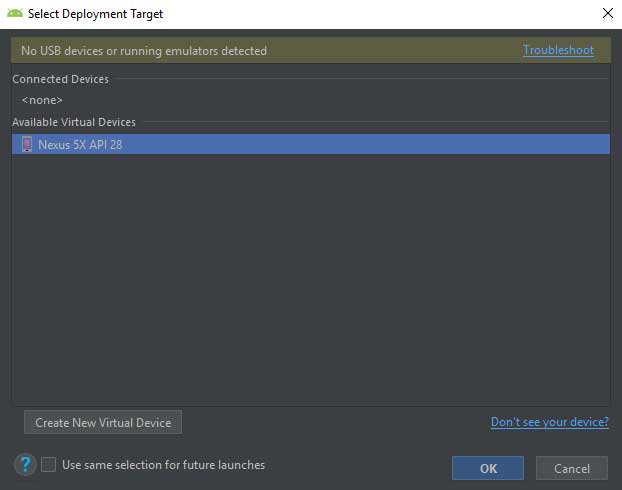
Click the button Run. Then, select the emulator and double - click the emulator or click OK.
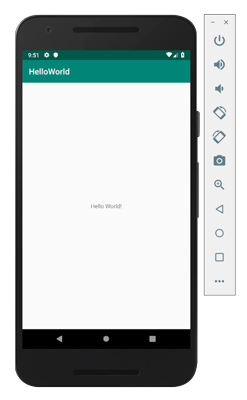
Then, as shown below, you get the output.
Running Android Project into Device
To Run Android into your device, you must make sure that the developer mode is activated. This is the development mode step by step.
- Go to Settings on your device.
- Scroll all the way down and select About phone.
- Scroll to Build number and tap in multiple times. You’ll see a toast come up that states “You’re n steps away from becoming a developer”. Keep tapping and it will change to “You’re now a developer!” once it’s enabled.
- Go back to Settings screen and scroll all the way to the bottom. You’ll now see Developer Options enabled.
- Select Developer Options. Next, turn on the USB debugging switch under the Debugging section.
- Connect your device to your computer via USB.
- You’ll now be prompted to confirm this option via a dialog that states Allow USB debugging? click OK.
- Next, you’ll be asked to register your computer’s RSA key fingerprint. If this is a trusted machine, then check the Always allow from this computer option.
Now that you’ve configured your device, click the Run button.
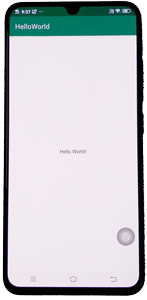
You will then see a screen for selecting a device. You will also see the connected device. Select the device and click OK. You will see the output as shown below.
Congratulations!!! You developed your first Android app and now just keep following the rest of the tutorial to become an excellent Android developer step by step. All the very best.