Android Create First Application
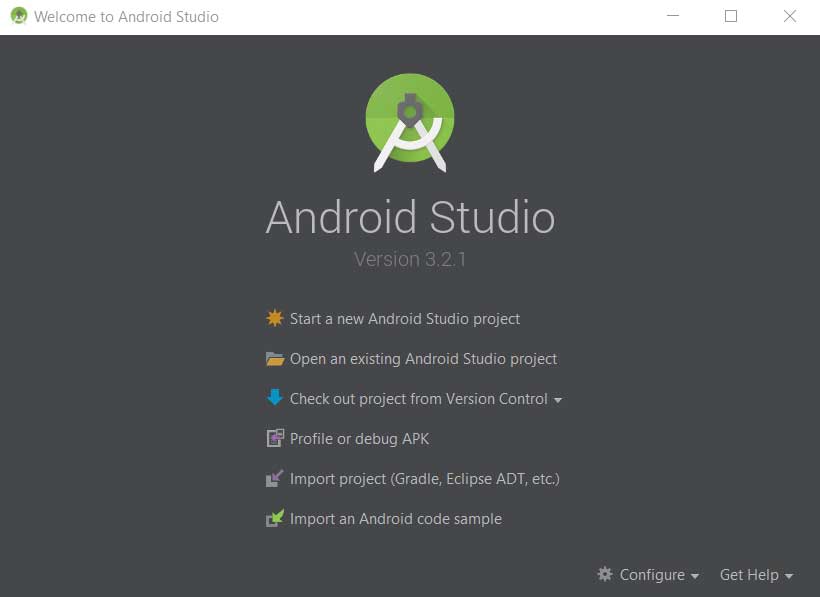
We are now going to create a new project and run on both the emulator and the device. You'll see the screen below when you open Android Studio.
Here, you will see the many options. e.g. Option of creating a new project, of opening an existing project.
Now we will create a new android project. So, select Start a new Android Studio Project.
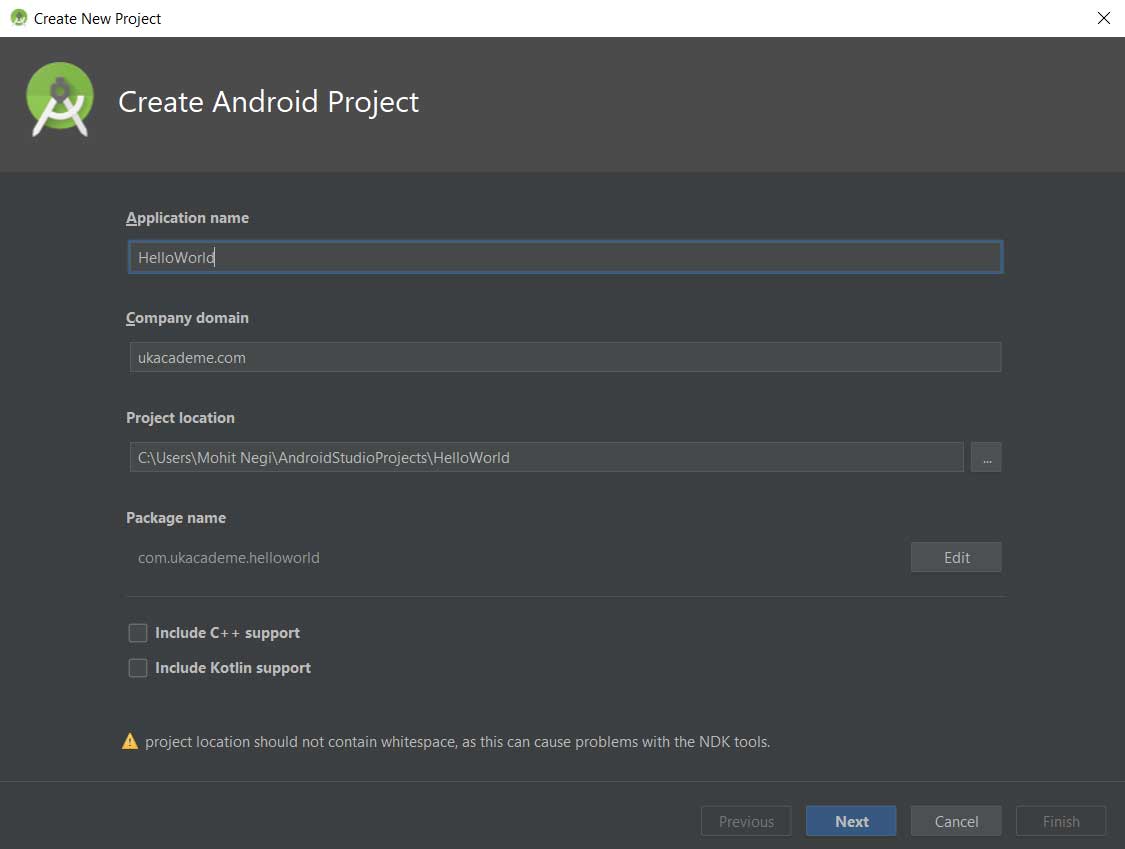
Click on Start a new Android Studio Project options will redirect you to the next screen. Here, you need to provide following things –
- Application Name: application name of your choice. For exmaple. HelloWorld, First Project etc.
- Company Domain: Your company domain. Again, you can put any domain name. Also, notice that as you type, Package Name automatically changes based on the entries in Company Domain.
- Package Name: This uniquely identify the application. This is generally in the form of com.organizationname.appname – all lowercase and no space. Note that package name starting with com.example is not allowed in play store. So, if you want to upload apk file or bundle, you need to remove ‘example’ word from the package name.For example. com.ukacademe.appname etc.
- Project Location: You can choose project location where you want to store the project in your on your computer.
Then, click next.
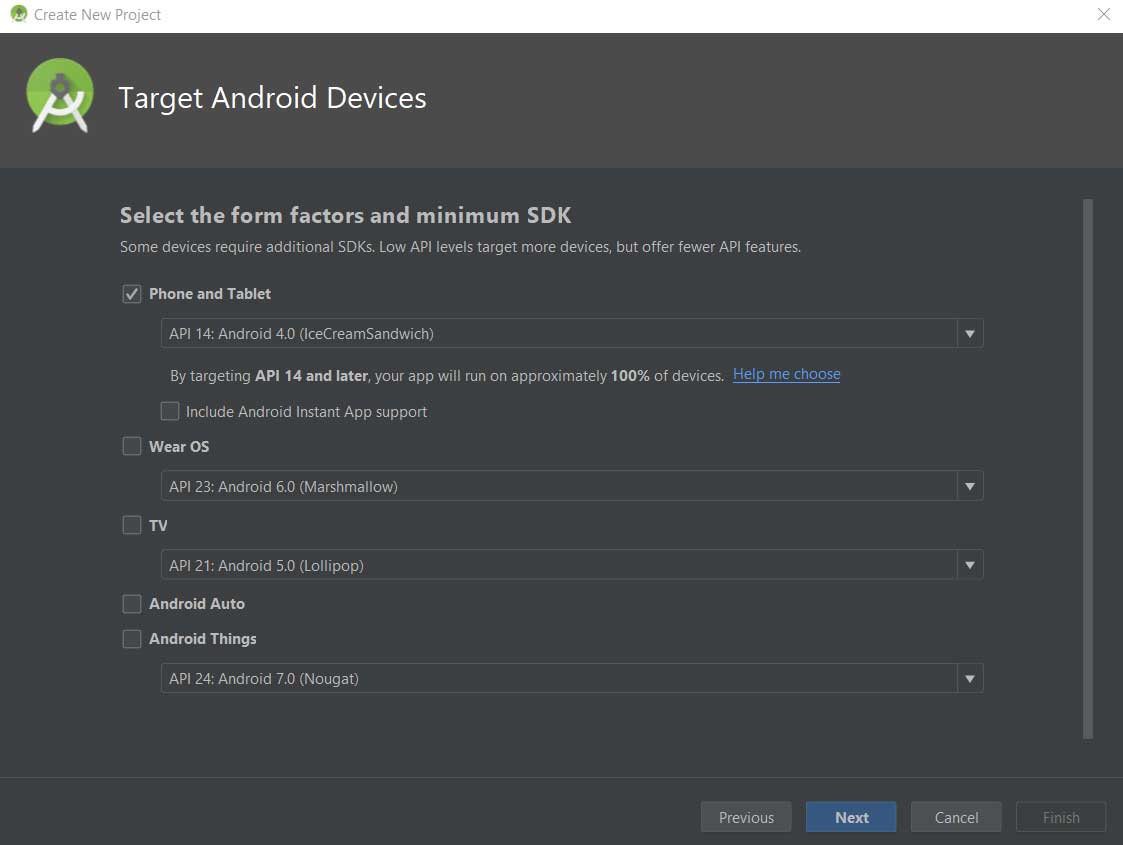
You are redirected to the next screen in which you must select destination devices for which this application is created. If you create this mobile and tablet application, you need to select Phone and Tablet.
Or if you are creating this application for Wear OS you need to select Wear OS or if you are creating this application for TV, you need to select TV.
If you are creating this application for Android Auto you need to select Android Auto Similarly, you can select any option.
Now, you have to choose minimum SDK after choosing target devices.
Suppose you have selected minimum SDK as 14. It means your application will be used on the device which has either android OS version 14 or above. Let’s take an example to understand it clearly.
Suppose you have selected Phone and Tablet and minimum SDK as 14. It means your application will run on phone and Tablet that has android OS version either 14 or above.
The key point here is how you can select the minimum SDK solution is to check whether the target audience is
covered by the minimum SDK you have selected.
After selecting minimum SDK, a rough idea of the audience being covered is shown below the selected minimum SDK.
Using this data, you can decide better. After selecting target devices, click next.
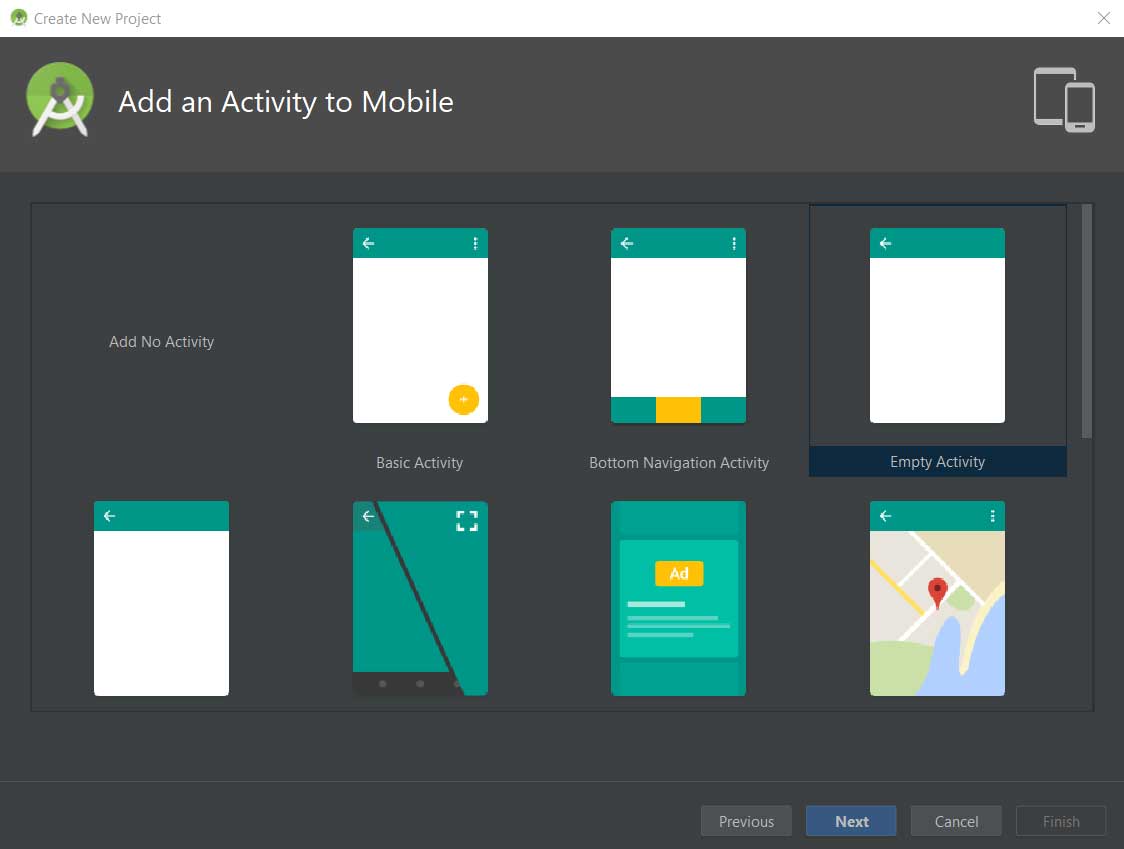
Now, You are forwarded to the screen where the activity option is different. Each option has a unique feature.
Some contain Floating Action button with activity, some contain bottom navigation activity, some contain fragments, some contain fullscreen activity, some contain navigation drawer, some contain google map etc.
Suppose you need to show navigation drawer activity, you can select Navigation Drawer Activity that has already implemented Navigation Drawer in Activity. You can also select any activity that is based on your needs.
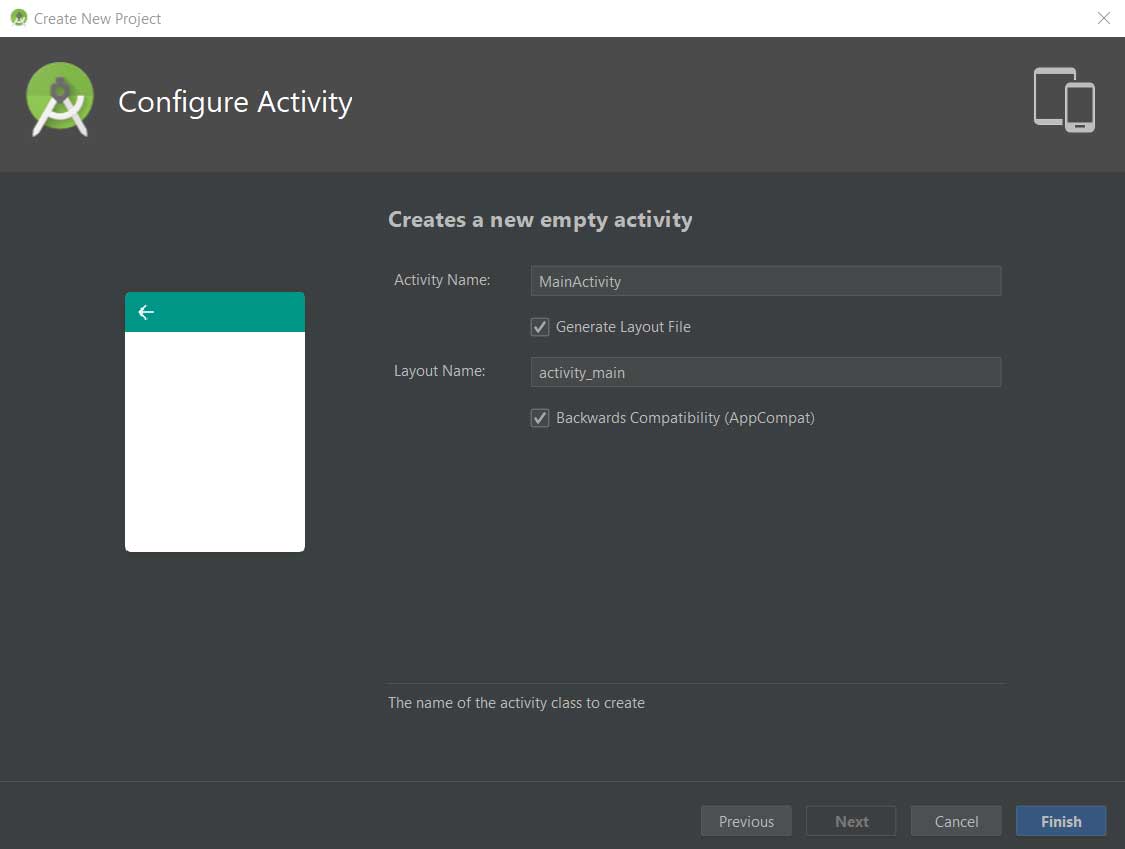
We select the Empty activity. After selecting Empty Activity, click next.
Now you need to provide Activity name and it’s Layout name. Here, we have given it’s default name i.e. MainActivity and activity_main.
Activity Name: This is name of your activity. A java class referring to your activities will be created.
Layout Name: In this layout file the User Interface shown in activity is defined.
Then, click on finish button.
Now, Android Studio does a lot of behind-the-scenes operation and creates the application. This is your initial project structure.
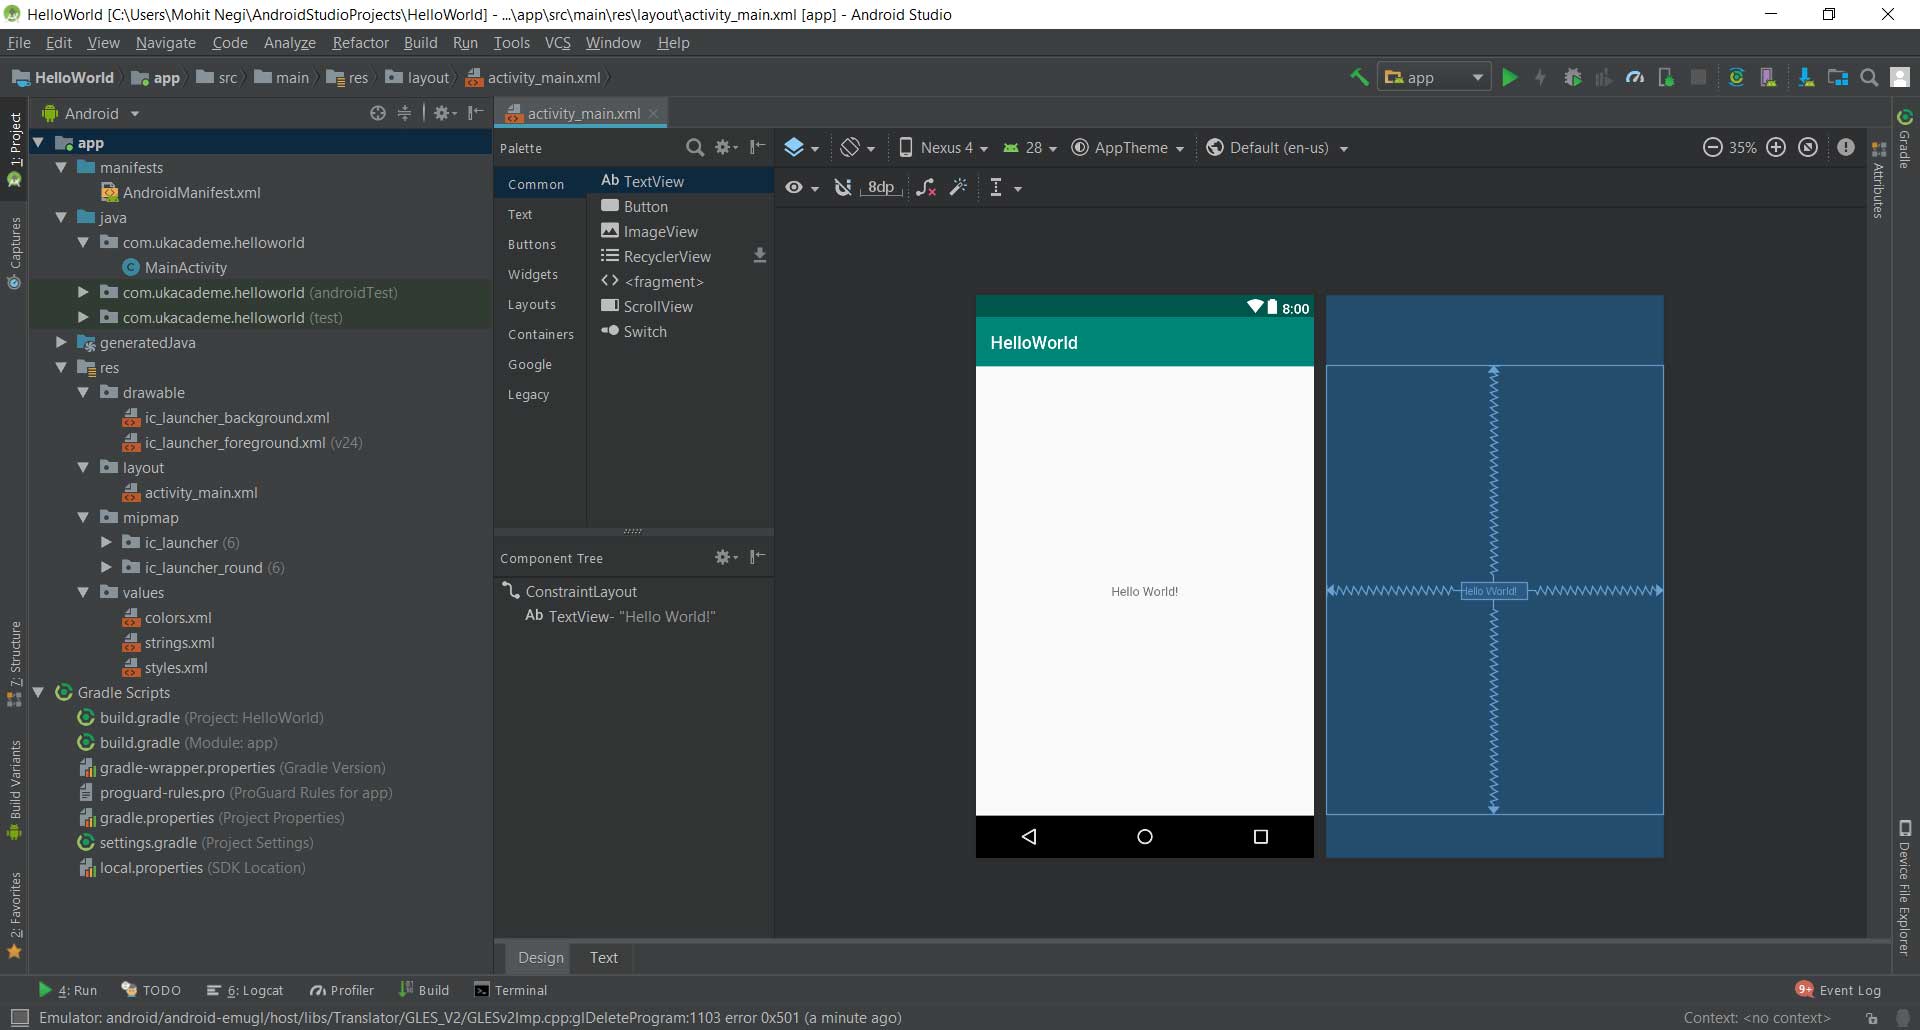
That’s it. Your project is successfully created.